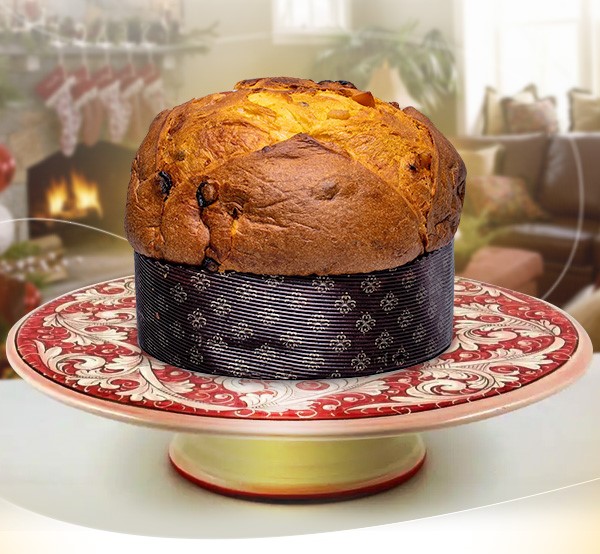
Make Panettone the highlight of your festive entertaining
Panettone is the ultimate Italian Christmas cake, instantly recognizable for its domed shape and its sweet, buttery dough studded with candied fruits and raisins.
Baking a panettone at home is a labor of love, but if you are up for the challenge, you can find a recipe at the end of this post. If you do not feel confident enough to make it yourself, don’t worry!
Most Italians purchase it from their favorite pasticceria, and you can probably find a quality Panettone at your local specialty store.
The Panettone recipe: are you up to the challenge?
The recipe is for a Panettone weighing approximately 1 kg.
INGREDIENTS
- Aromatic Mix
- 30 g acacia honey
- 1 vanilla bean
- 1 untreated lemon
- 1 untreated orange
- Dough – part 1
- 100 g sugar
- 80 g egg yolks
- 90 g butter
- 1 g salt
- Biga
- 375 g strong Manitoba flour
- 185 g water
- 5 g fresh yeast (or 1.5 g dry yeast)
- Dough – part 2
- 30 g strong Manitoba flour
- 1 g fresh yeast /0.3 g dry yeast
- 2 g salt
- 10 g water
- 20 g eggs
- 40 g sugar
- 40 g butter
- 140 g candied orange and citron
- 150 g sultana raisins
METHOD
Day 1
To prepare the “biga,” knead the flour, yeast, and water for a few minutes. Leave it somewhat rough. Then, form a ball, cross-cut it, place it in a bowl, cover it with plastic wrap, and let it rest at a constant temperature between 18°C and 20°C for 12 hours.
Prepare the aromatic mix by grating the lemon and orange peels into a bowl with the honey. Cut the vanilla bean lengthwise and scrape the seeds into the bowl. Mix well, cover with plastic wrap, and refrigerate.
Soak the raisins in warm water for half an hour. After that, rinse them and cover them with water again. Let them soak for 4 hours. Once done, drain the water, pat them dry, and spread them on a tray covered with clean kitchen towels. Leave them to air-dry overnight.
Day 2
Warm the butter in the microwave for 20 seconds until it reaches a creamy consistency, not melted but soft.
To start making the dough, put the biga in a stand mixer. Add the egg yolks and mix them for at least 5 minutes at low speed. Ensure the yolks are fully absorbed and the mixture is uniform. Be gentle while mixing, and avoid increasing the mixer speed to prevent dough from overheating.
Once the dough is uniform, gradually add the sugar. Then, add the salt and let the mixer work for at least 15 minutes to make the dough elastic. Finally, add the butter in small portions, allowing the dough to absorb it. You may increase the speed of the mixer during this phase, but be careful not to overheat the dough. The dough should be well-formed around the hook, creating a thin, resistant veil, which is a sign that the gluten mesh is tight.
Place the dough on a flat surface without adding flour, and fold and round it.
Transfer the dough into a high-sided container. To monitor its rise, mark the level with an elastic band. Cover the container with plastic wrap and let it rise at a temperature of 28-30°C. The dough should increase by three times its initial volume. This process should take about 3-4 hours. Place the container in a turned-off oven with the light on to maintain a constant temperature. Verify the temperature with a thermometer to ensure it stays within the desired range.
After the dough has risen, deflate it and refrigerate for 30 minutes.
It’s now time to get ready for the final dough.
Weigh 10 g of the aromatic mix and 150 g of raisins. Next, bring the butter to a creamy consistency by heating it slightly in the microwave and stirring it multiple times. Beat the egg and weigh out 20 grams.
Transfer the preliminary dough, flour, aromatic mix, and yeast to the stand mixer. Work at low speed until the dough is perfectly formed. Add the salt, then incorporate the egg and knead until fully absorbed. Gradually add the sugar and water. The dough should be smooth and uniform. Only then add the butter in small portions. Increase the mixer speed and firm, glossy, with a thin, resistant veil. Gradually add the candied fruits and raisins, continuing to work the dough at low speed. You can also mix by hand if necessary. Place the finished dough in a straight-sided container, cover it with plastic wrap, and set it at 28°C for 40 minutes. You can keep it in the turned-off oven with the light on.
You are almost there!
Place the dough onto a floured surface and allow it to rest for 15 minutes.
Knead the dough thoroughly and round it tightly with your hands. Allow it to rest for another 15 minutes, and repeat. Place it in a high-sided paper mold and put it on a tray for easy transport, cover it with plastic wrap, and let it rise at a temperature of 28-30°C for about 3-4 hours.
The Panettone is ready for baking once the dough reaches 2 cm from the edge of the mold. Remove the plastic wrap and let the Panettone sit in the air for 20 minutes to form a thin film on the surface. Preheat the oven to 160°C and place the rack on the lowest shelf. Use a sharp razor to make two cross-cuts on the top and place small pieces of butter on the cuts. Bake in a preheated static oven for about 50 minutes. The Panettone will be cooked when the core temperature reaches 94°C, which can be measured with a probe thermometer inserted laterally into the Panettone after 40 minutes of baking.
Once the Panettone is baked, take it out of the oven and pierce it 2 cm from the base using two thin knitting needles. Suspend it and let it cool upside down for 10 hours. After this time, remove the needles and tightly seal the Panettone in a food bag. Wait for a couple of days before consuming. If well sealed and intact, the Panettone will last for 10-15 days.
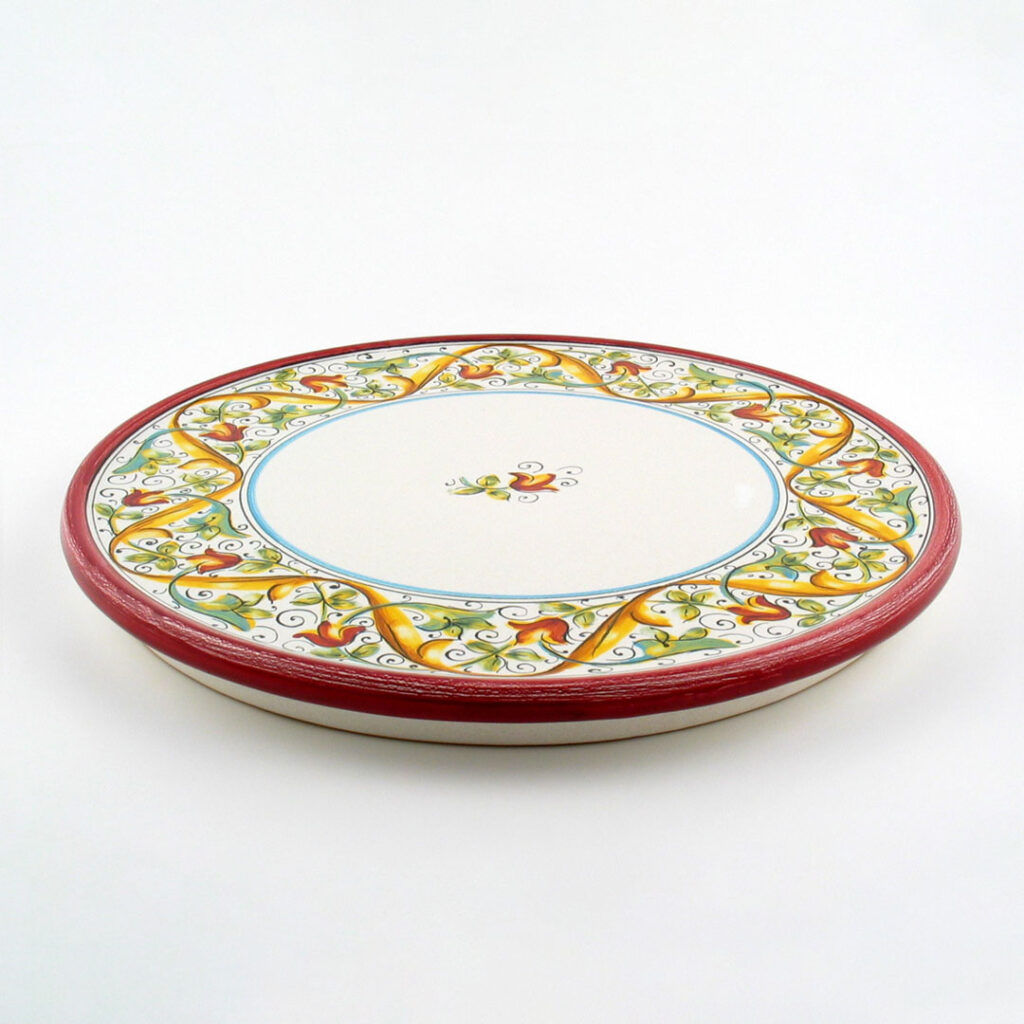
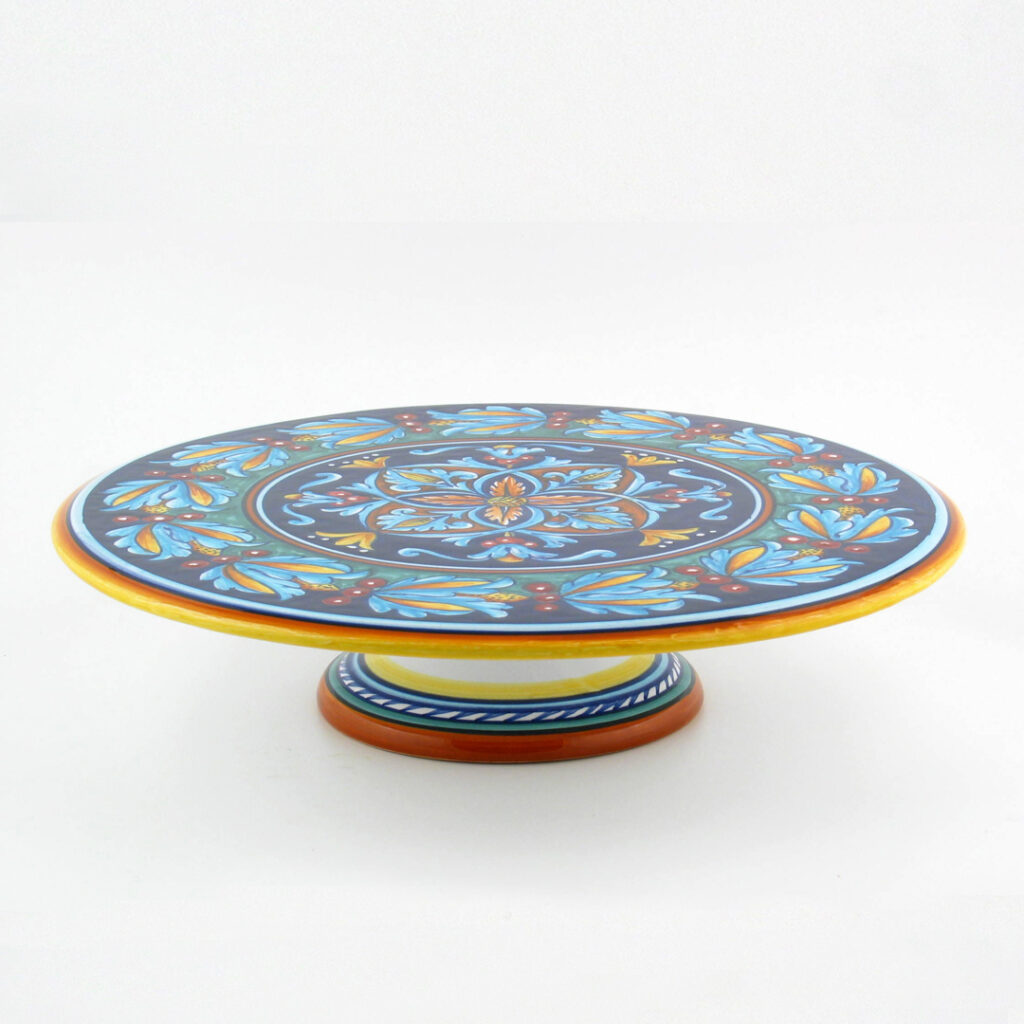
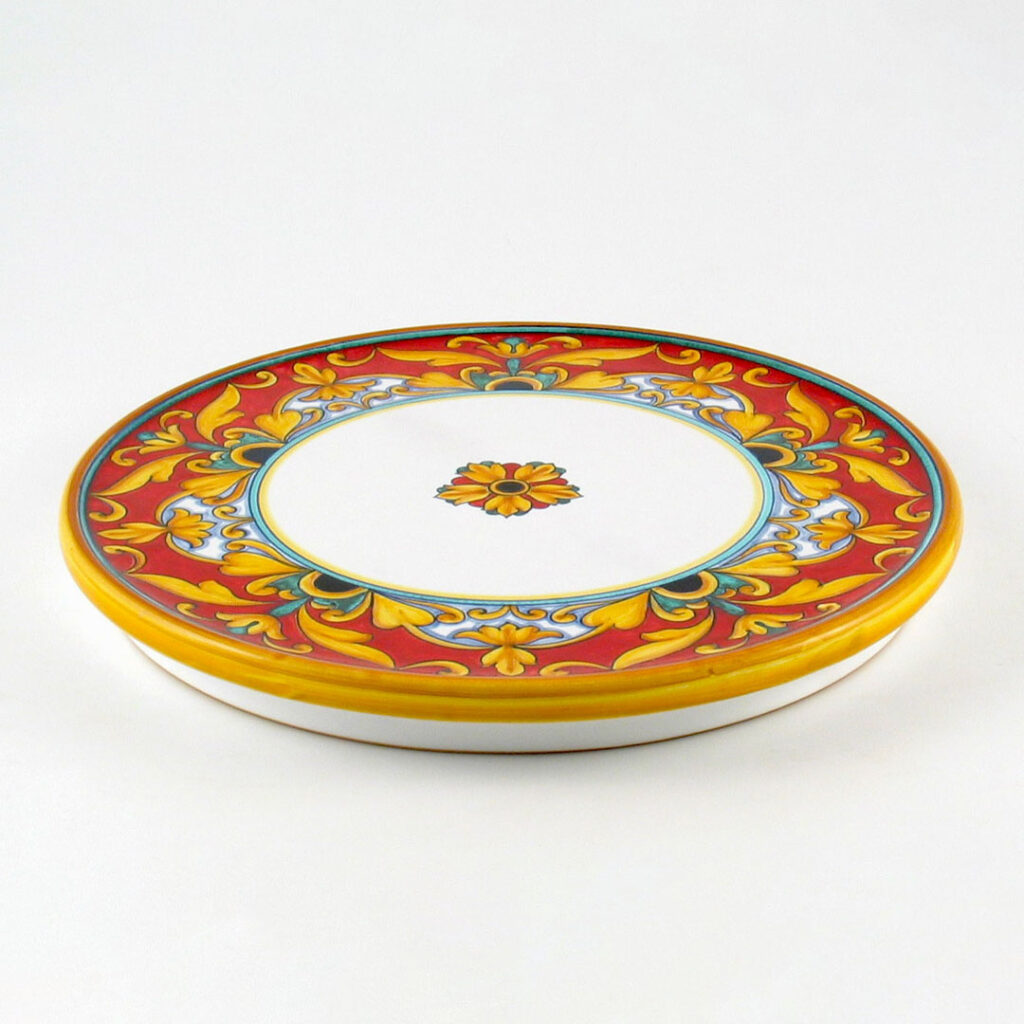
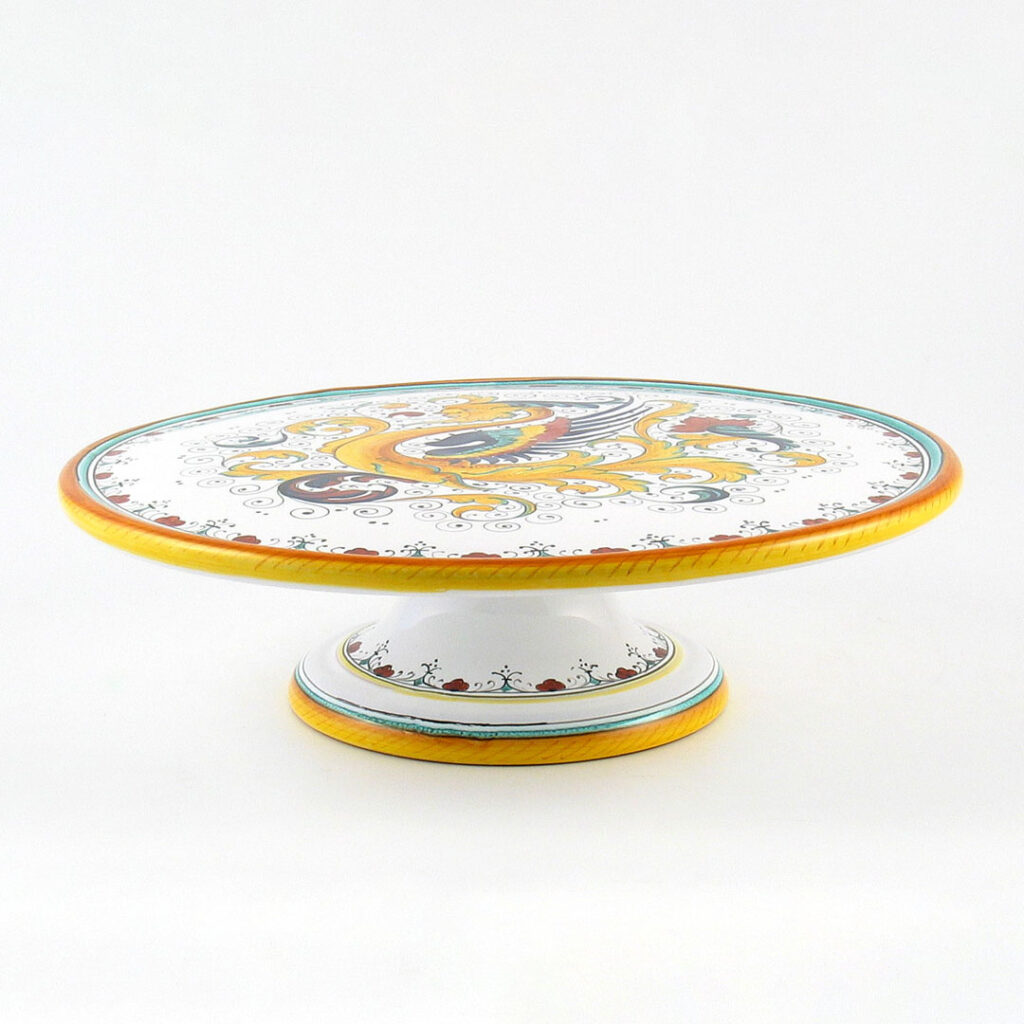
Make Panettone a highlight of your festive entertaining this year and serve it on a cake stand or a cake platter, just like Italians do. For an added touch, you can even get a hand-painted one from Italy!